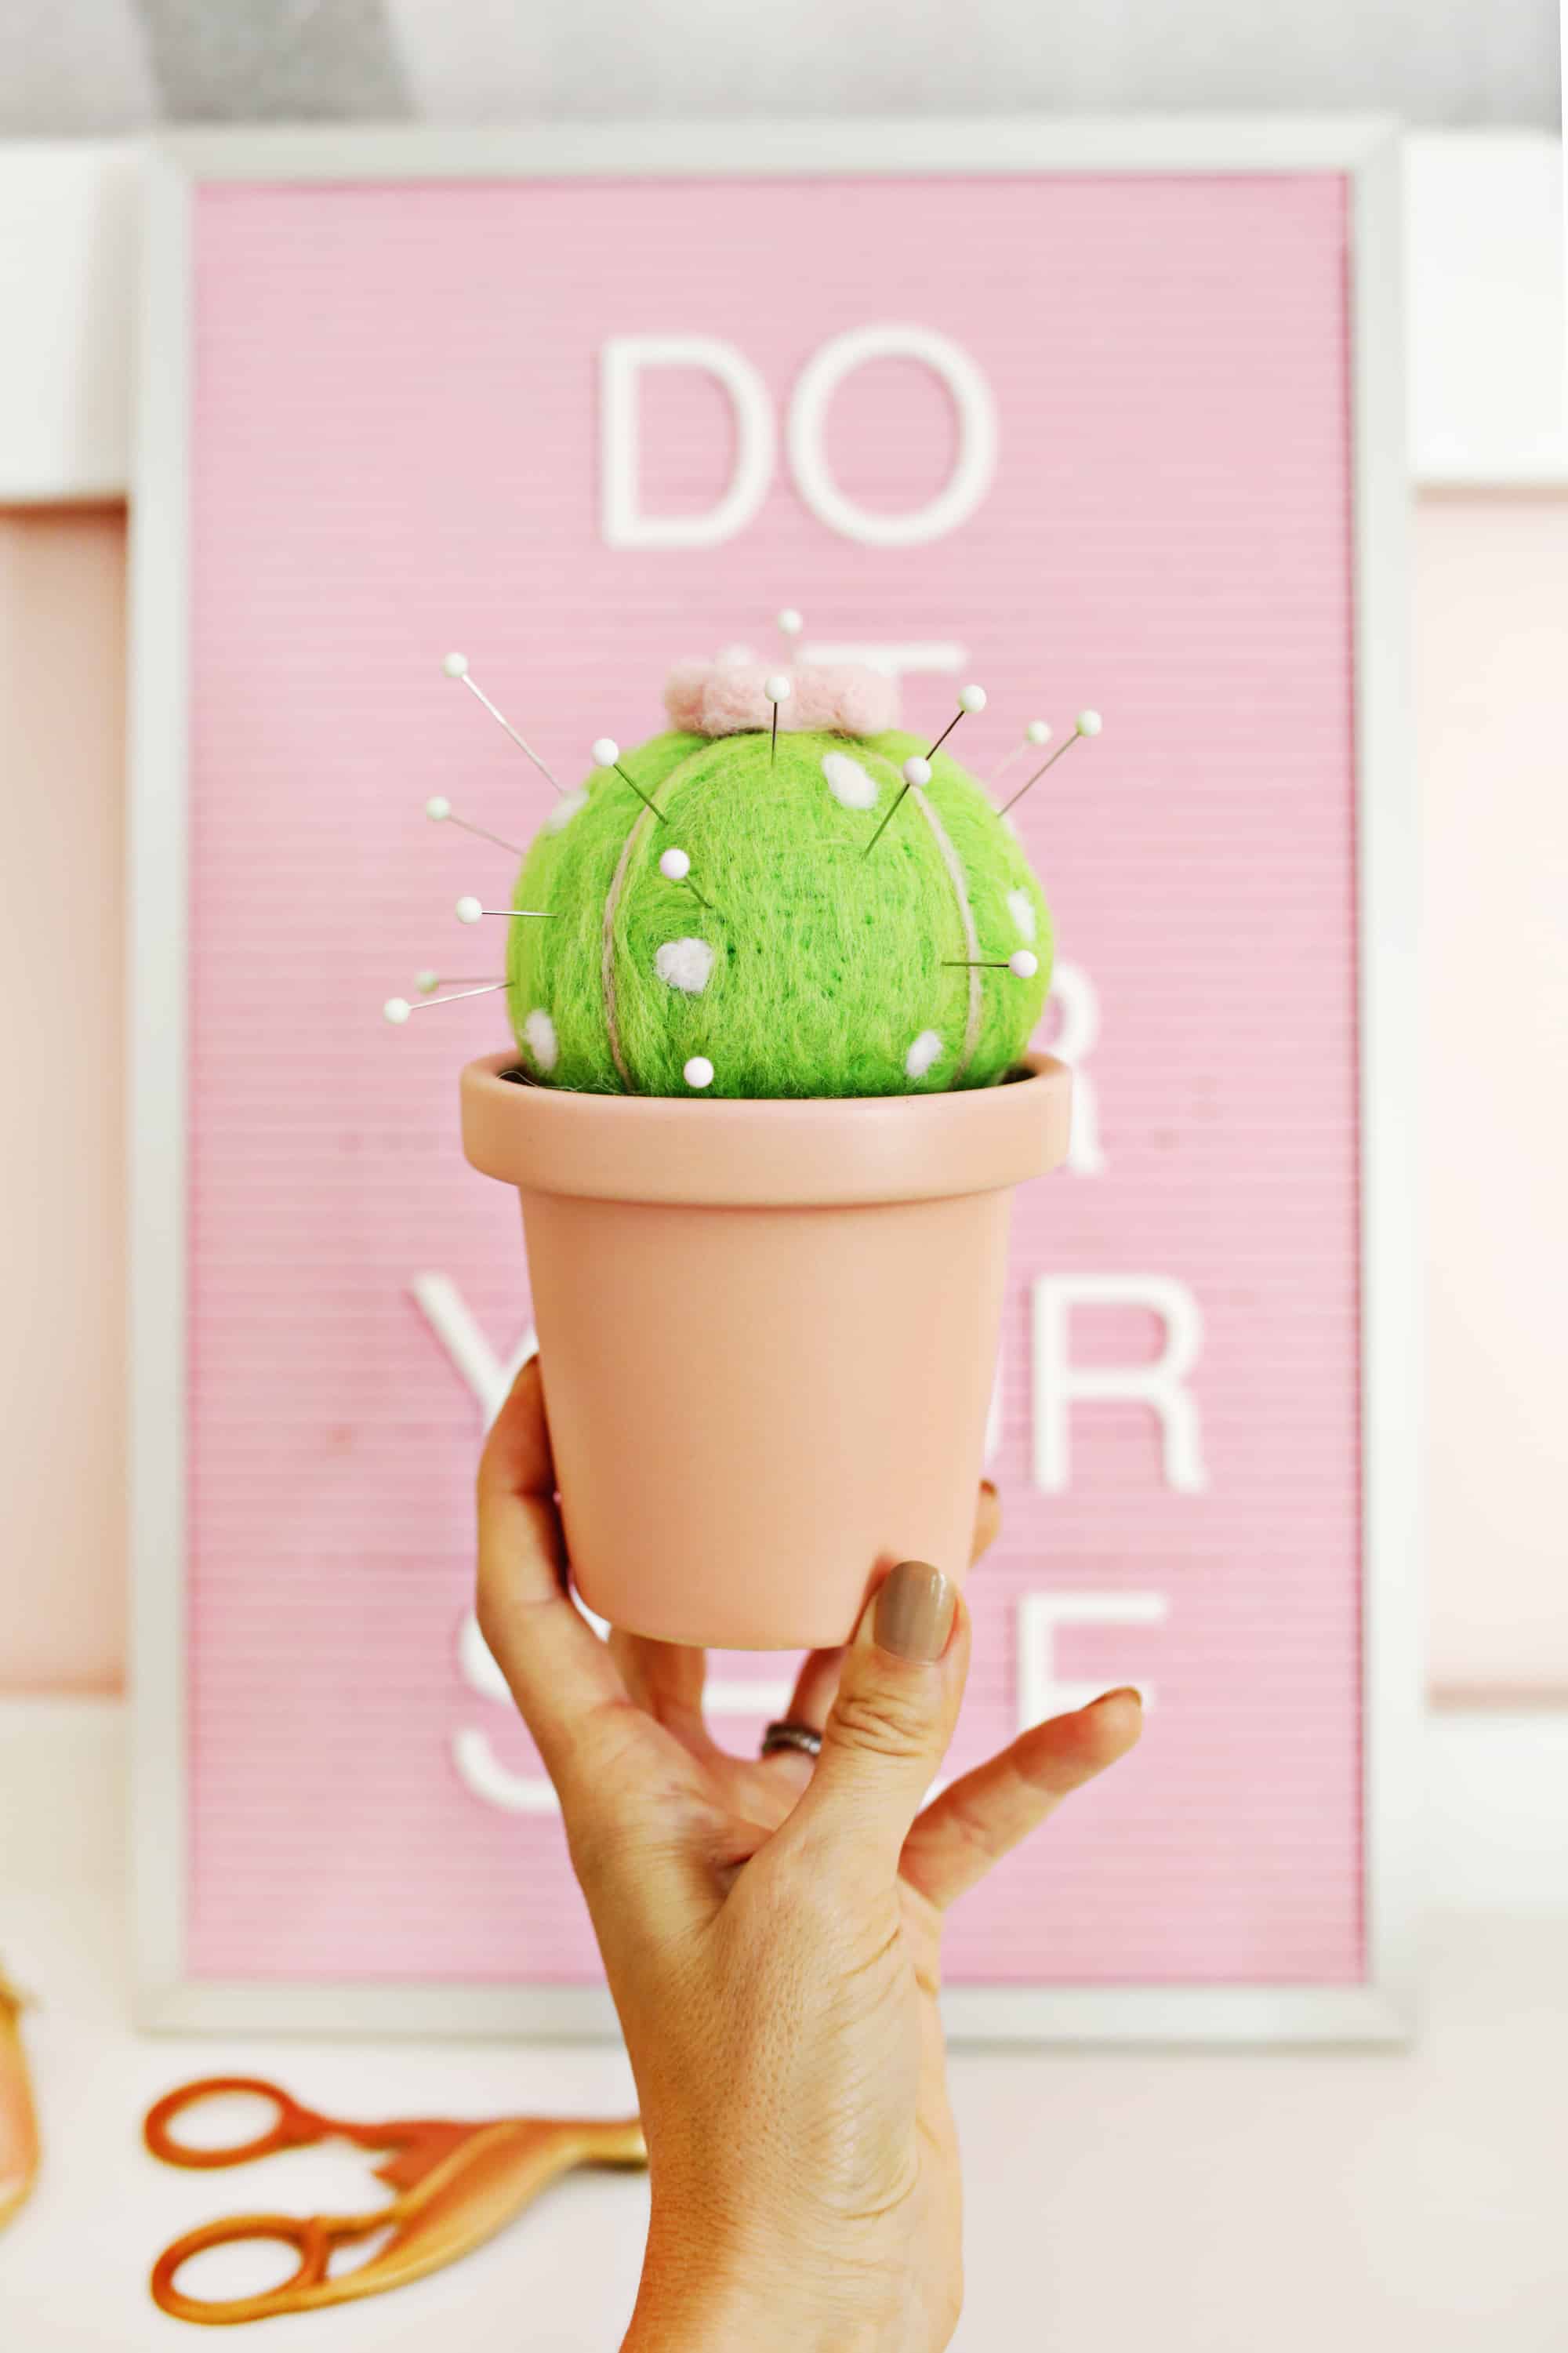
 I love a good novelty pincushion. We’ve done lots of fun ones over the years, but I’ve never gotten to try my hand at felted wool until this project! Wool felting is one of those things that sounds and looks like a magic trick because it’s so crazy to watch something take shape and come to life simply by poking a special needle in and out of it. Basically, I’m saying that it’s as fun as it looks! I thought for my first adventure into wool felting I would try a barrel cactus pincushion so I could learn a few beginner techniques in one project. I’ll show you how I made it!
 Supplies:
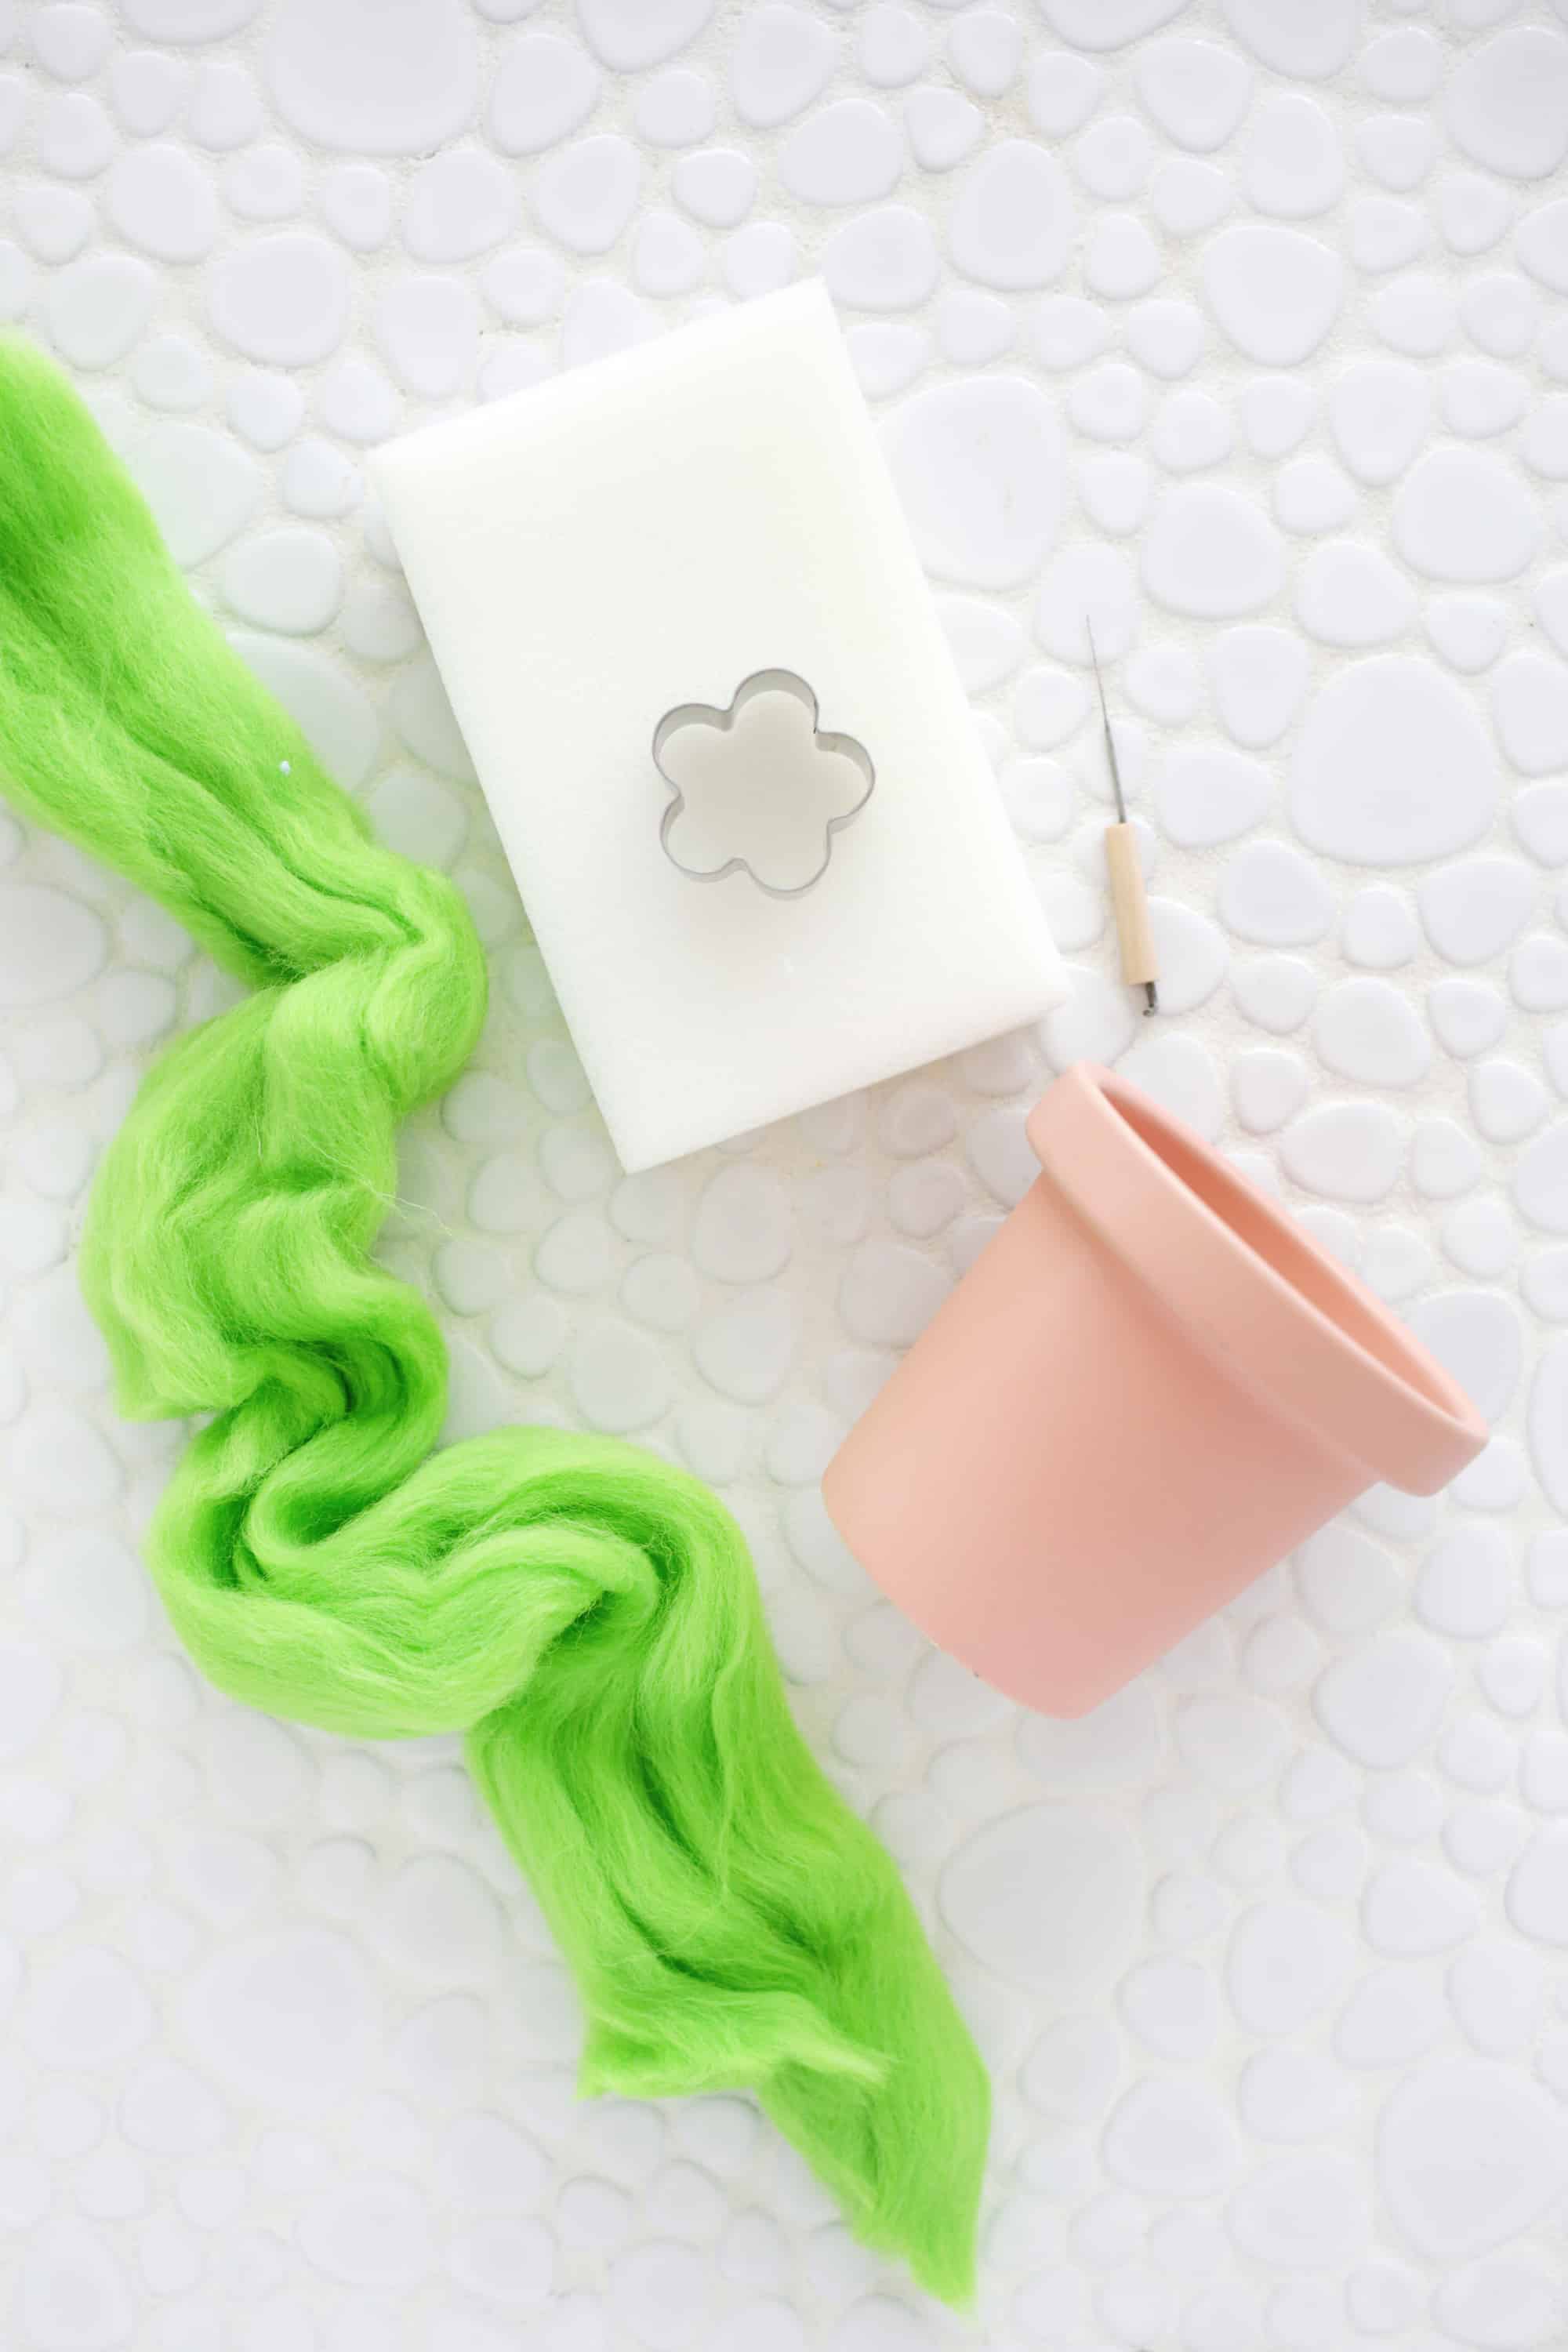
–felted wool kit with wool, needles, and foam mat (you may need some extra green for the cactus body if making a big pincushion)
–multi-needle punch tool (optional but can make felting go faster)
–small planter for base of pincushion
-small flower-shaped cookie cutter
–pollyfill stuffing (you’ll only need a little bit)
–cone of styrofoam
-hot glue gun
-small piece of brown felt fabric
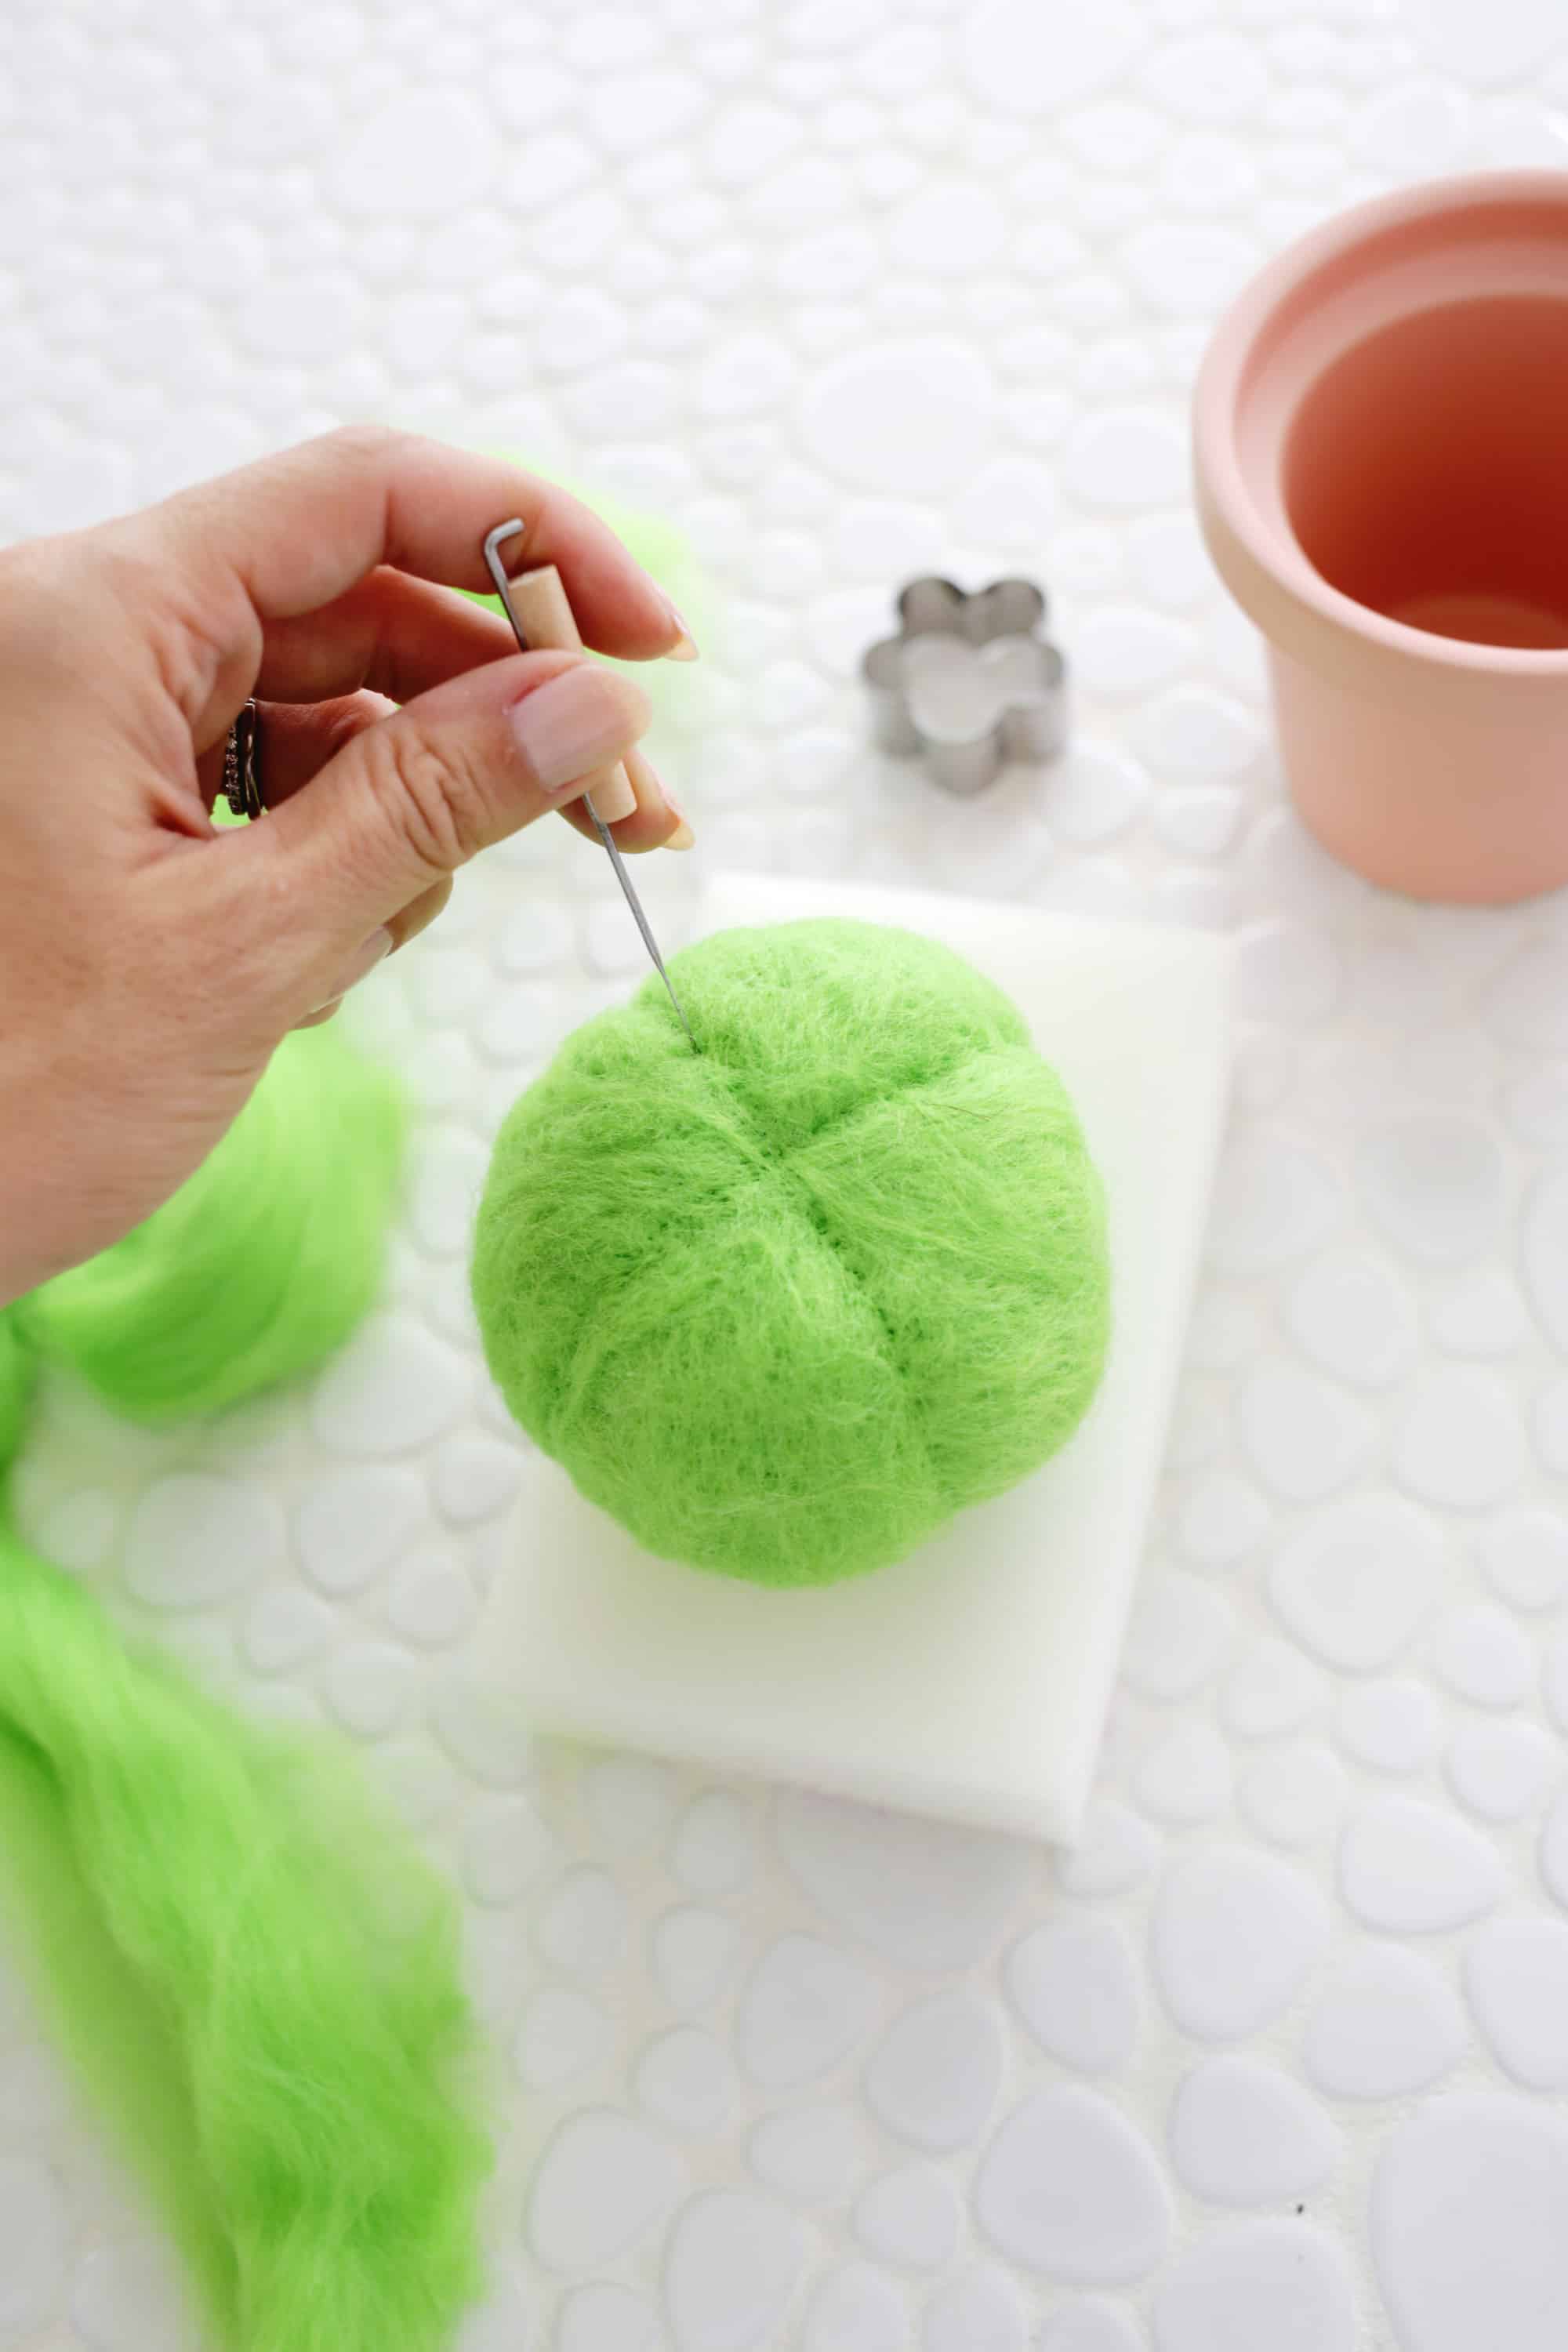
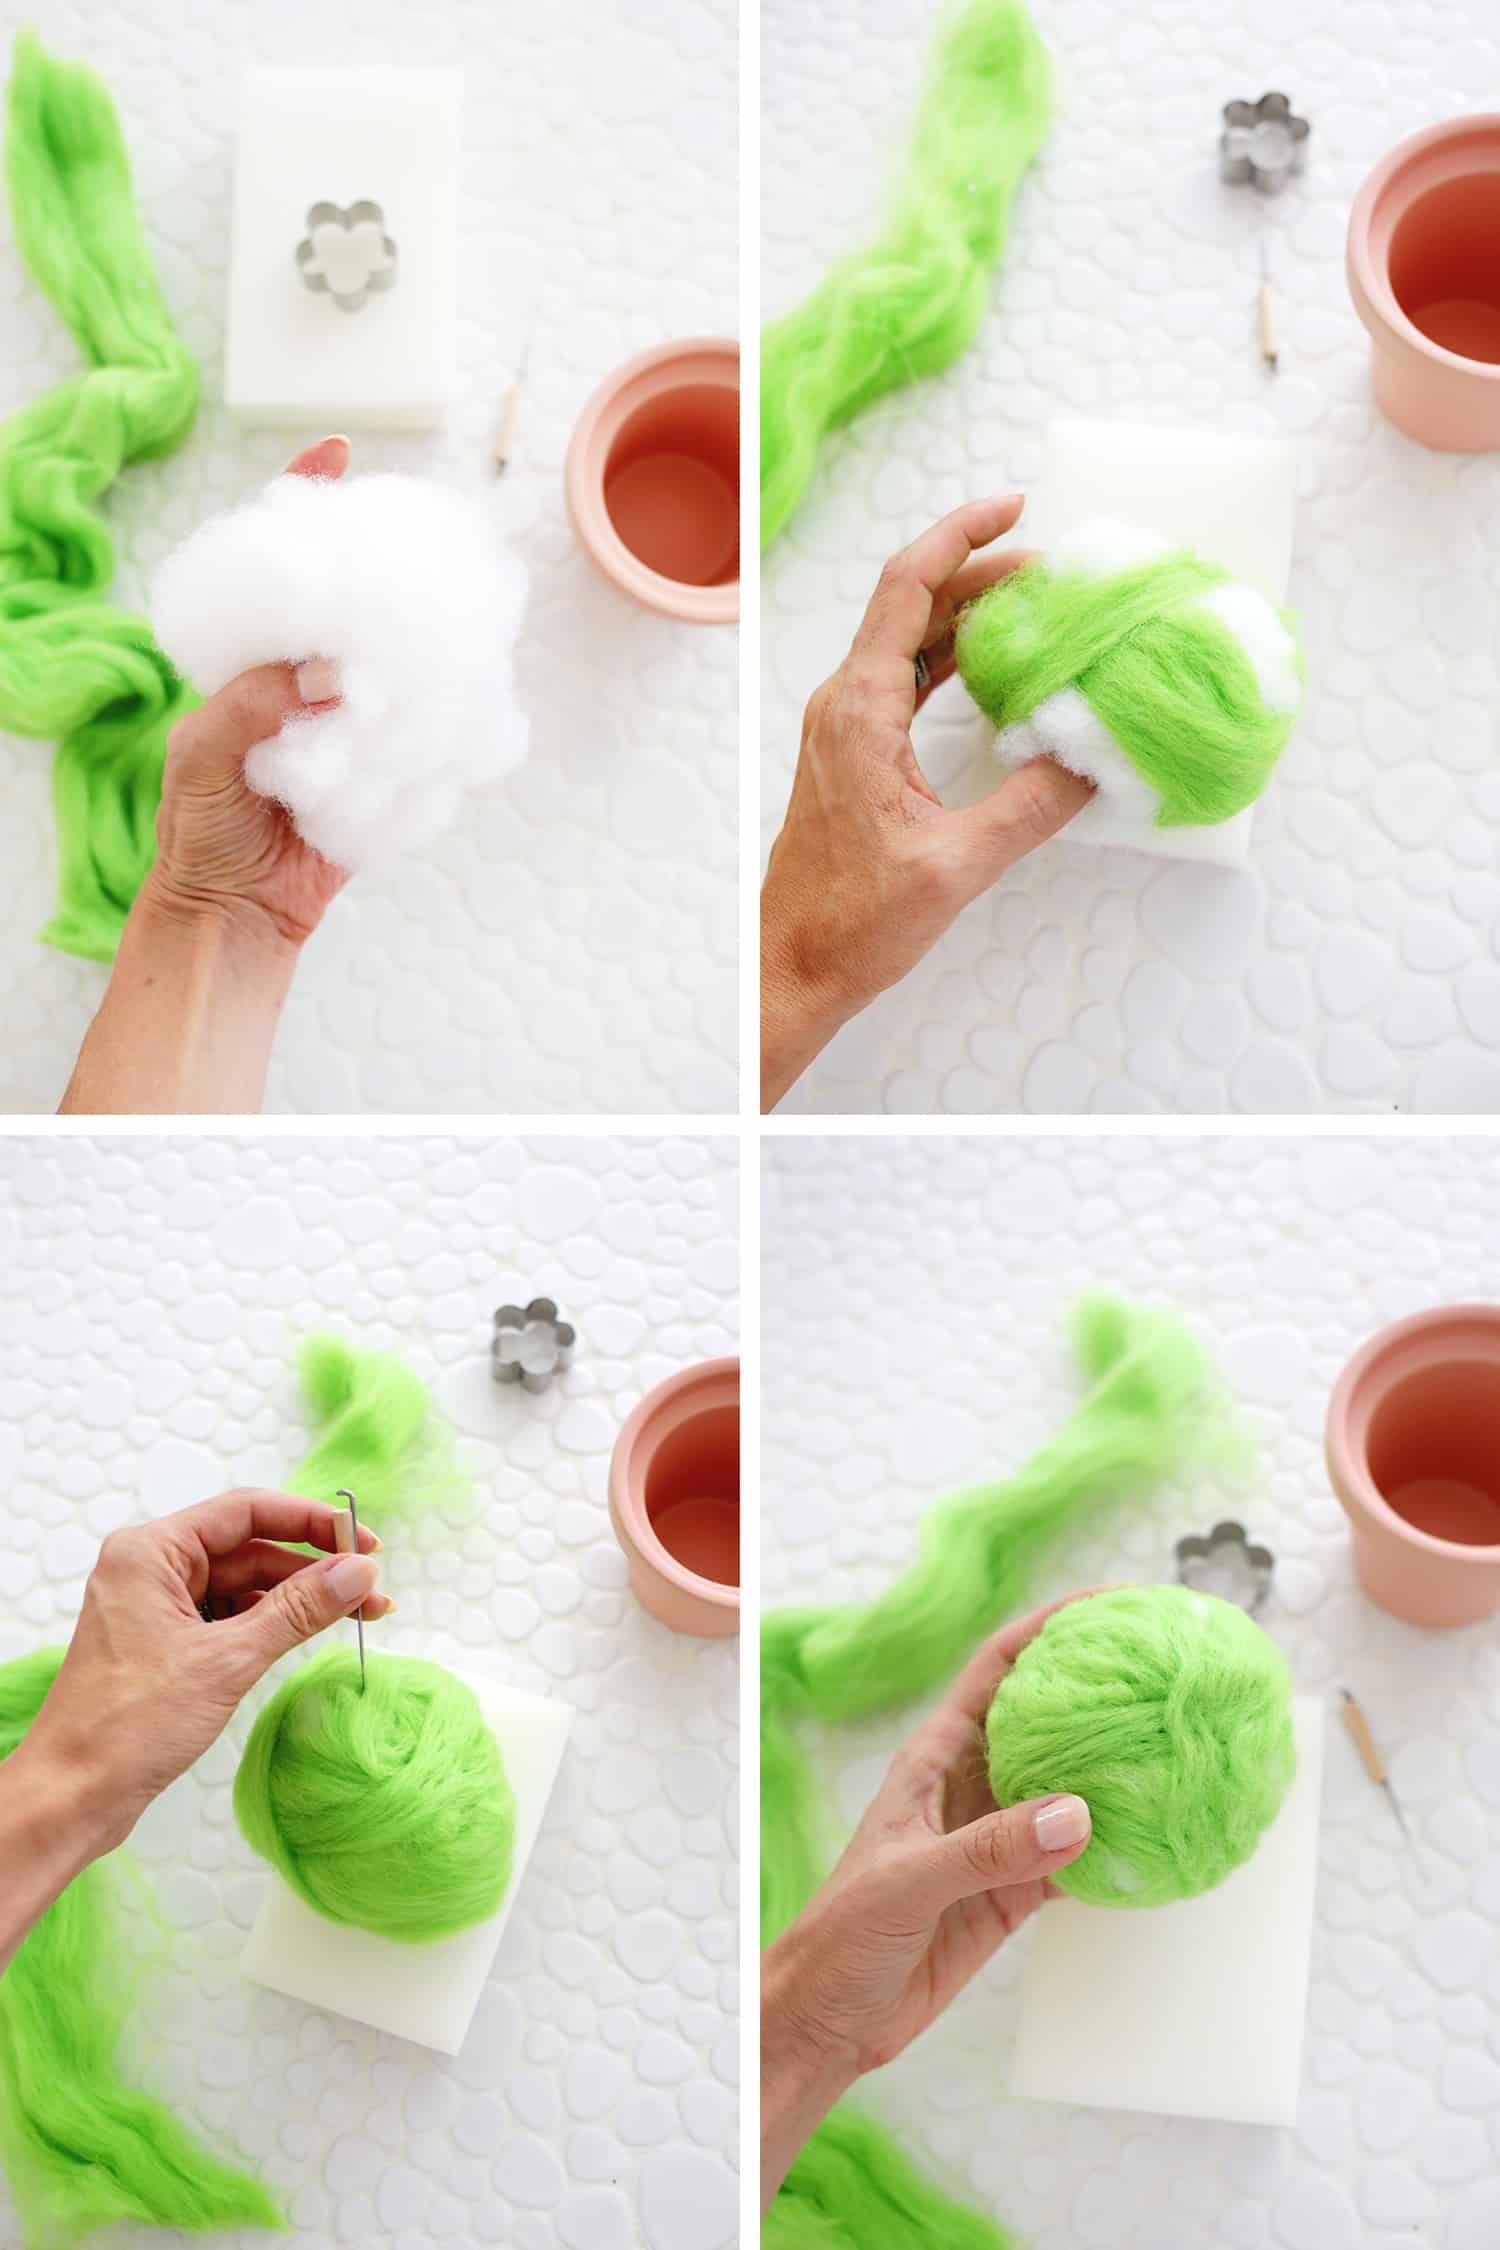 First, you’ll want to take your pollyfill stuffing and make a ball that’s a little larger than you’ll want your finished cactus to be when you squeeze the ball shape gently. Pull off a section of your green wool (called a weft) and spread it out a bit with your fingers so it’s more thin and wispy rather than one big chunk. Wrap it around your ball of polyfill. Keep pulling off sections of wool and wrapping the ball in different directions until it is about 2/3 of the way covered. Use your felting needle and start to poke the ball with the needle, in and out, pulling in and out at the same angle so you don’t break the needle, and work in small sections at a time. The needle will start to combine the wool fibers together so just keep poking away at a section until you can tell that they are starting to grab a hold of each other. Keep working around your ball, turning it as you work.
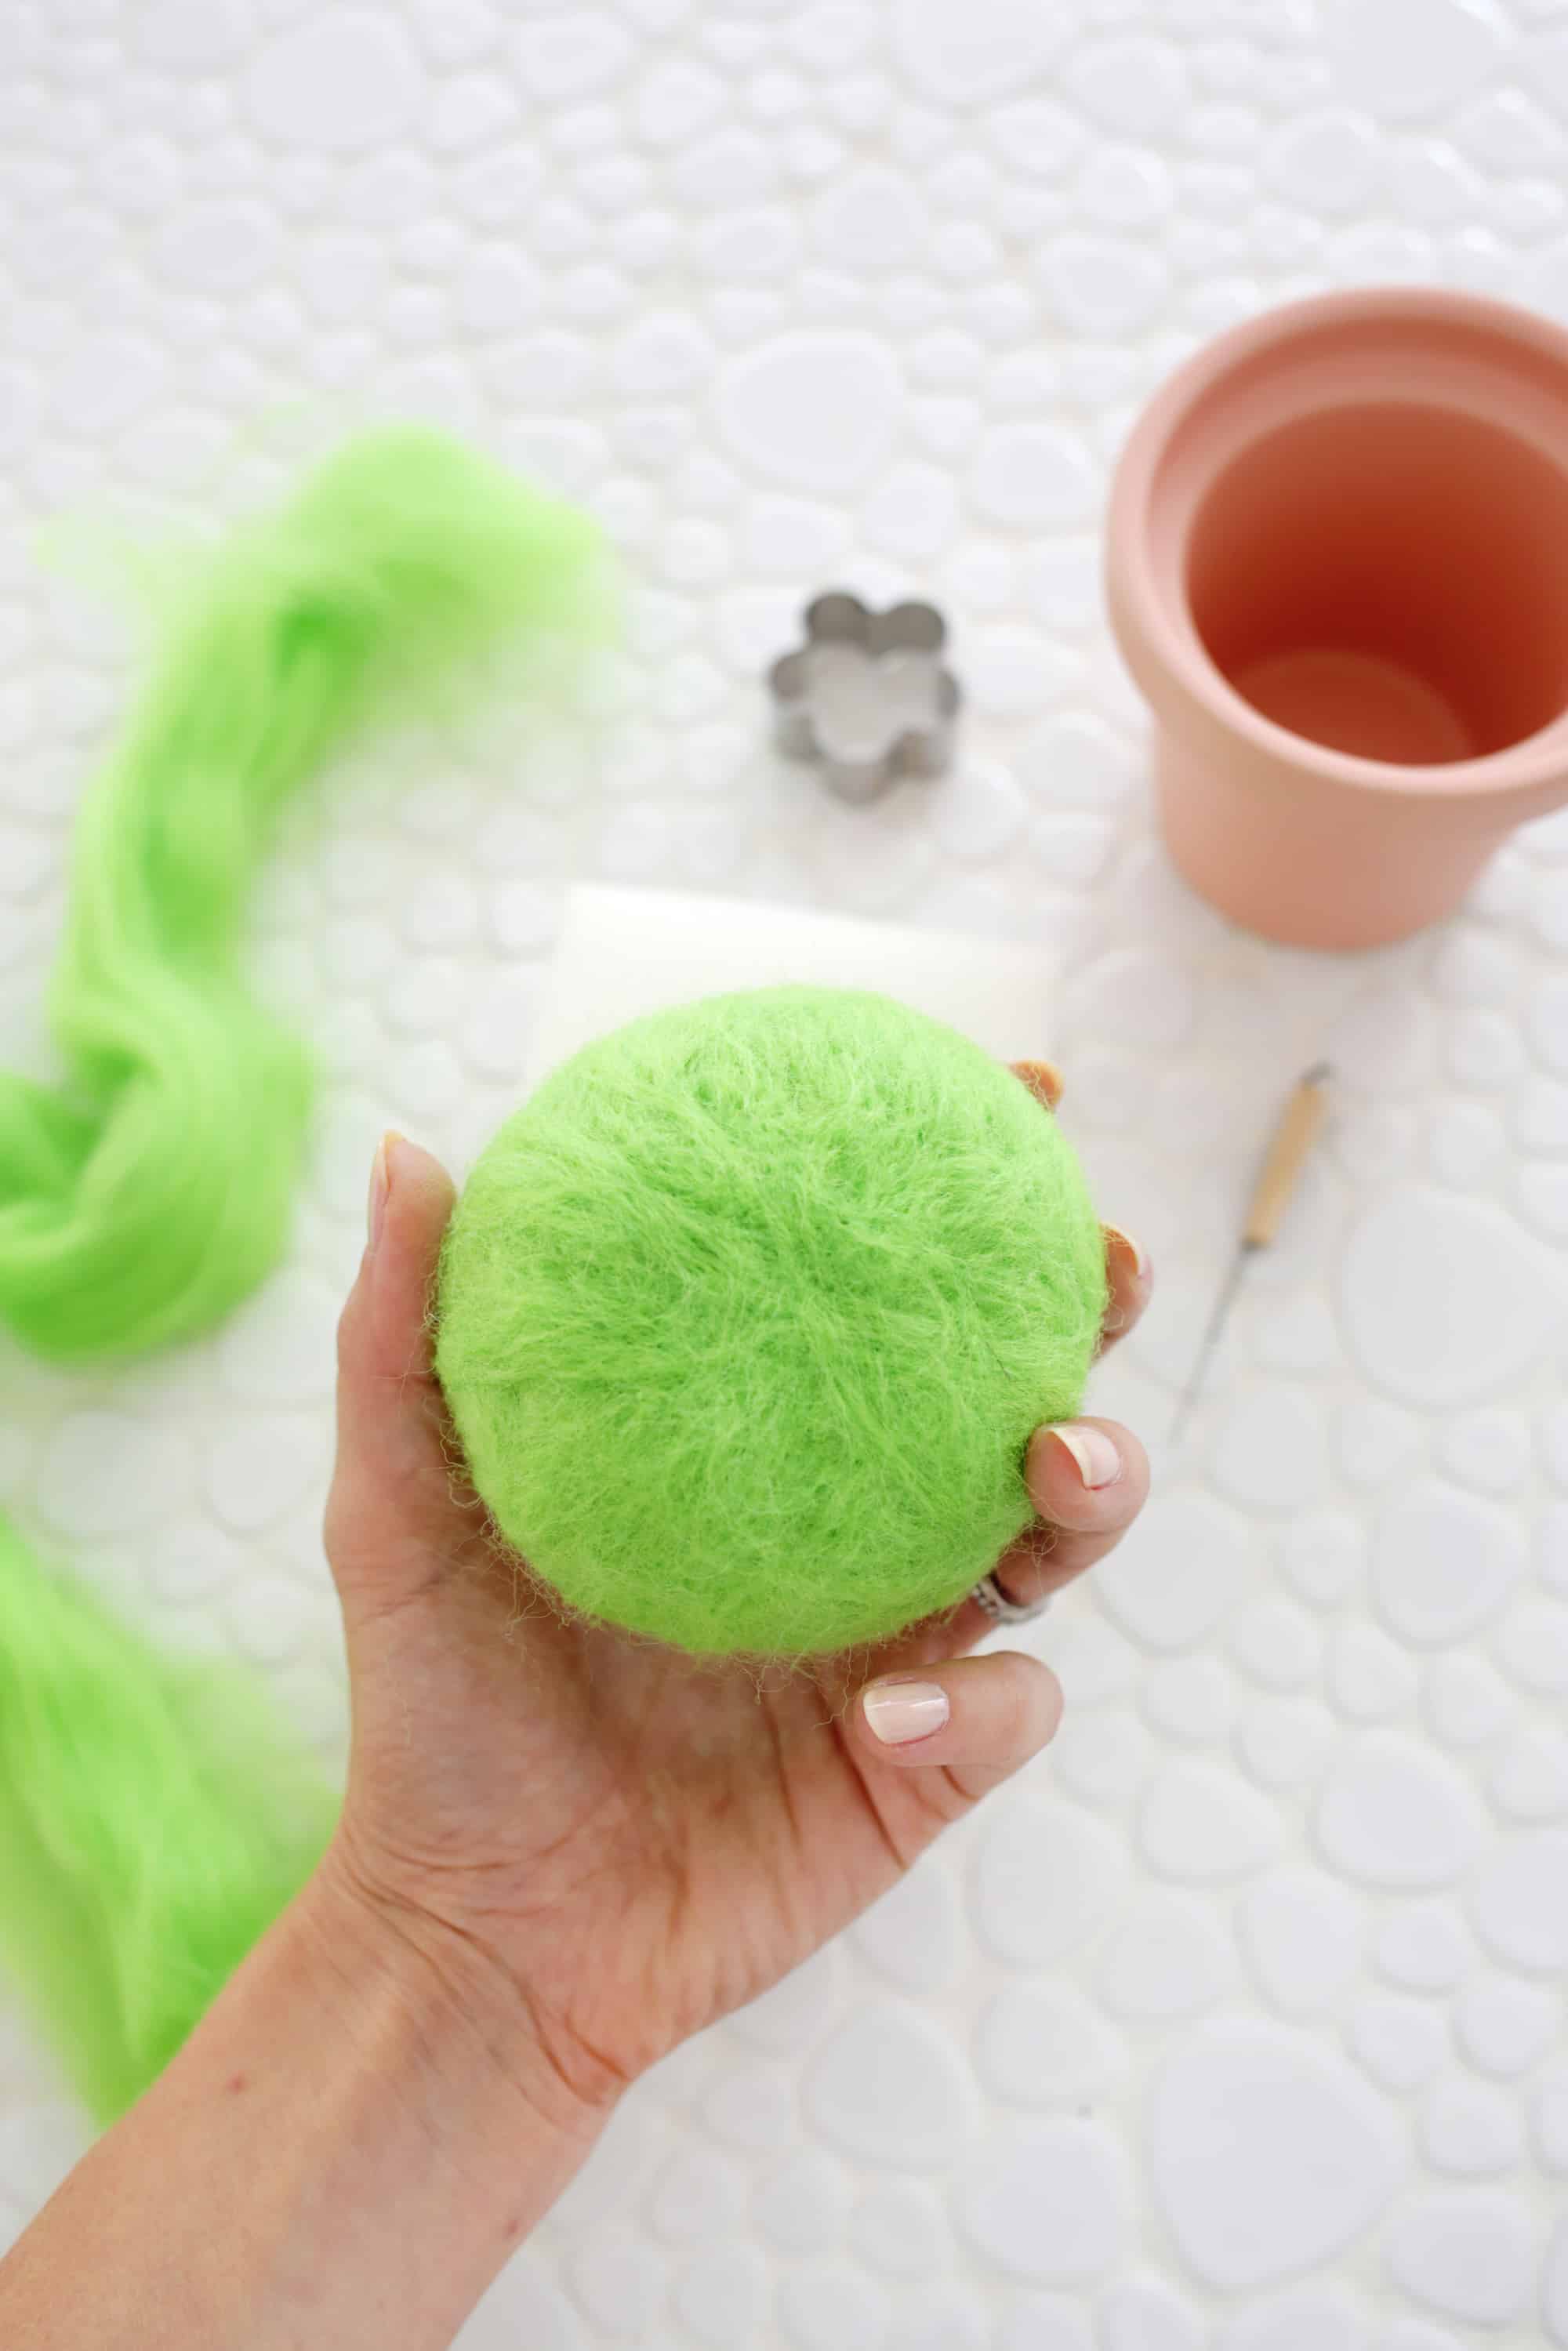
Pull off some more wefts of green wool, spreading them thinner, and continue wrapping them around your ball until the ball is fully covered in green wool. Continue to keep felting the ball by poking the needle in and out, rotating the ball, until you have a relatively firm sphere. The ball won’t be totally solid feeling since you have the polyfill in the middle, so just keep going until you feel like you have a good outside surface texture that you like.
You can use a single needle like in the photos, or you can use a multi-needle punch tool for larger areas like the cactus ball. The multi-needle tool can make felting larger areas faster, but some prefer using the single needle, so you may want to try both and see which you like better.
 Once you have your green cactus ball, take your needle and decide where you want the top of your cactus to be. To make your barrel cactus section dividers, do a series of concentrated punches in that top spot so that you begin to make a dimple impression into the ball. Then, continuing to punch in a straight line, move your needle punches down the side of the cactus all the way to the bottom. Go over that line a few times until you have a little canal that runs down the side. Repeat on the opposite side to divide the ball into two halves and then two more times to divide the ball into four sections.
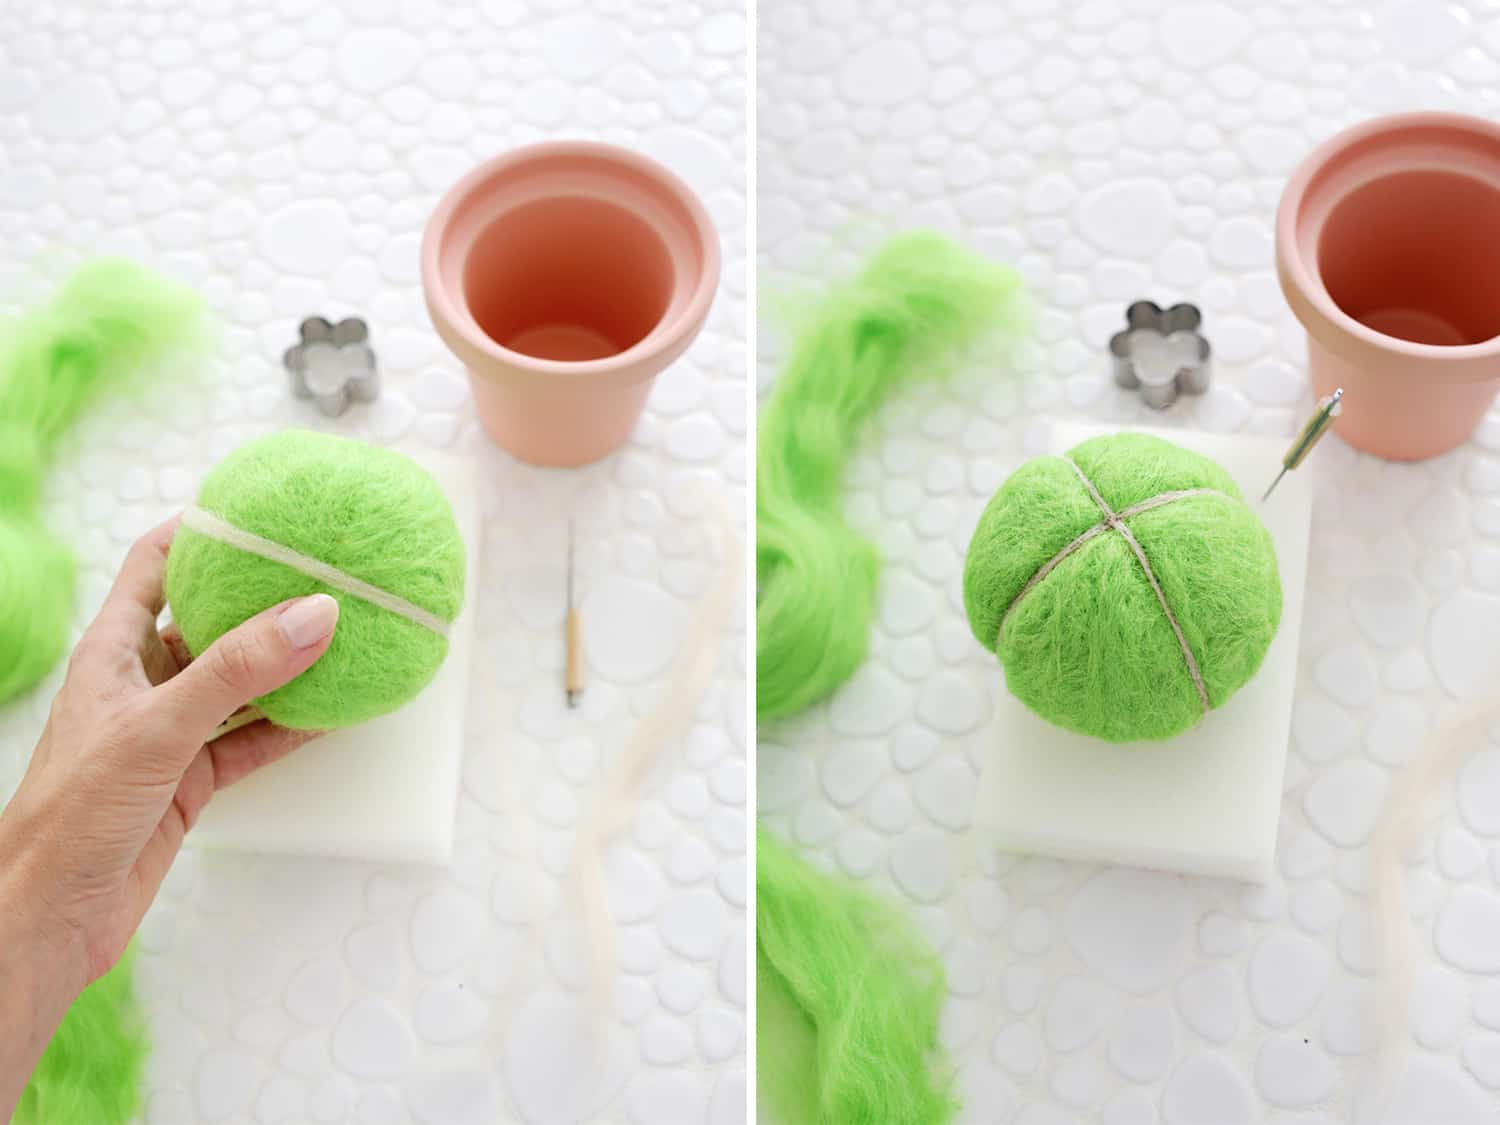 Pull a very thing long weft of tan or brown wool and place that thin weft on one of the canals with the middle of the weft on the top of the cactus. Use your needle to punch the tan weft into place down the canal line until it’s attached all the way around. Repeat with another weft on the other canal section.
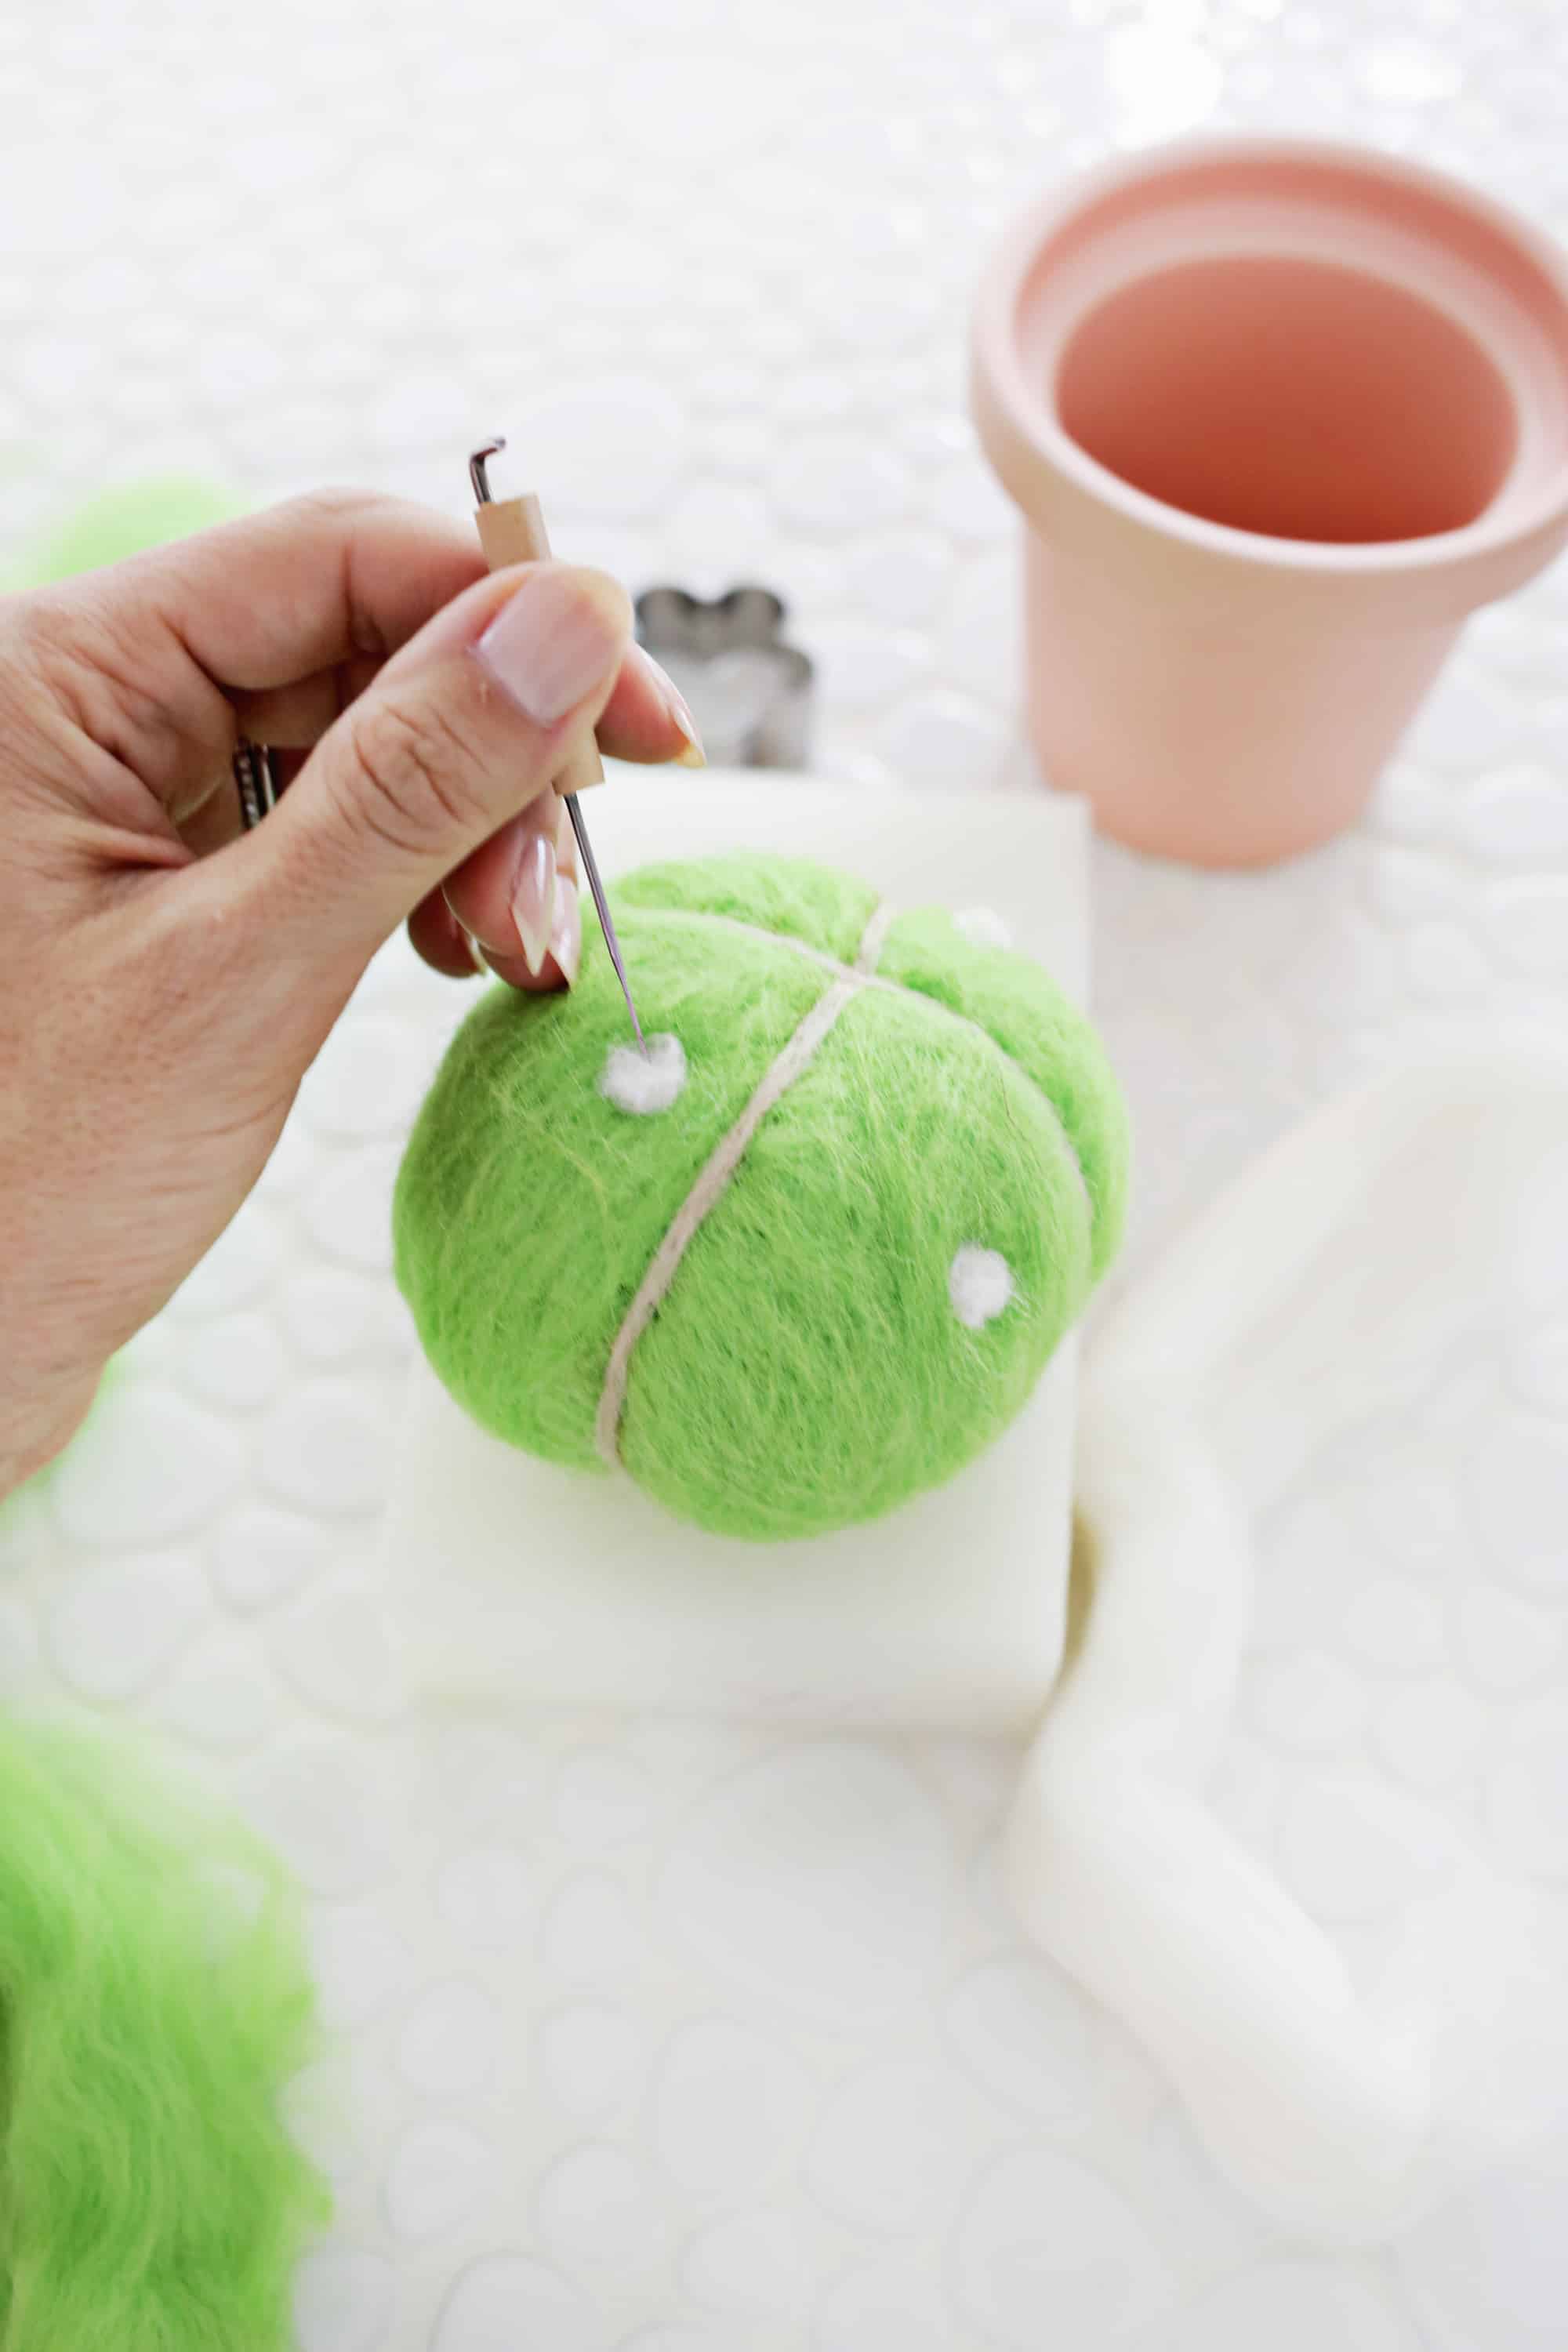 To make the little white spots on your barrel cactus, pull small wefts of white wool and roll them into a ball with your fingertips. Place the ball on the cactus barrel and felt the white spot into place with your needle.
One tip that I realized when doing this kind of shape attachment with a new color is that it usually worked best to do a few pokes to attach the middle of the white ball first and then use the tip of the needle to swirl around and grab any stray fibers that were hanging out outside of the desired area so I could pull those back into the main shape and felt them into the main white dot body. So, the needle and wool fibers are sort of like how a paintbrush pushes or pulls paint into the spot you want it to go if that helps … I also didn’t try to fully attach and flatten out these white dots so they would still stick out a bit and have a little texture.
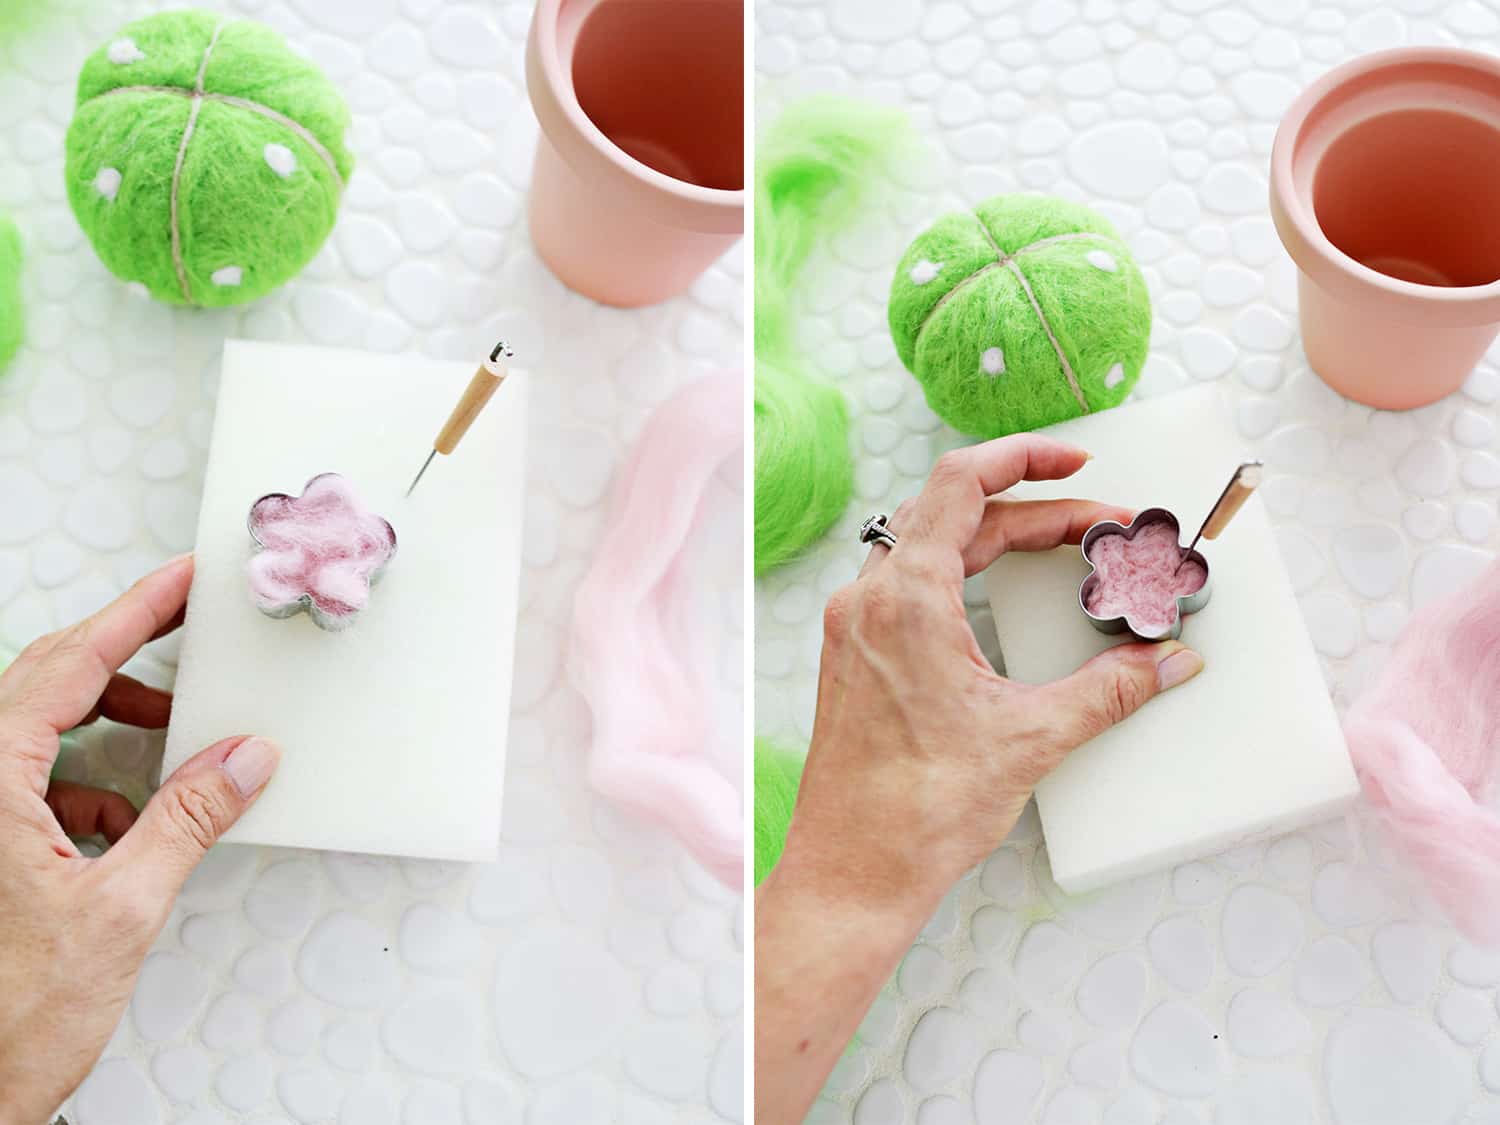
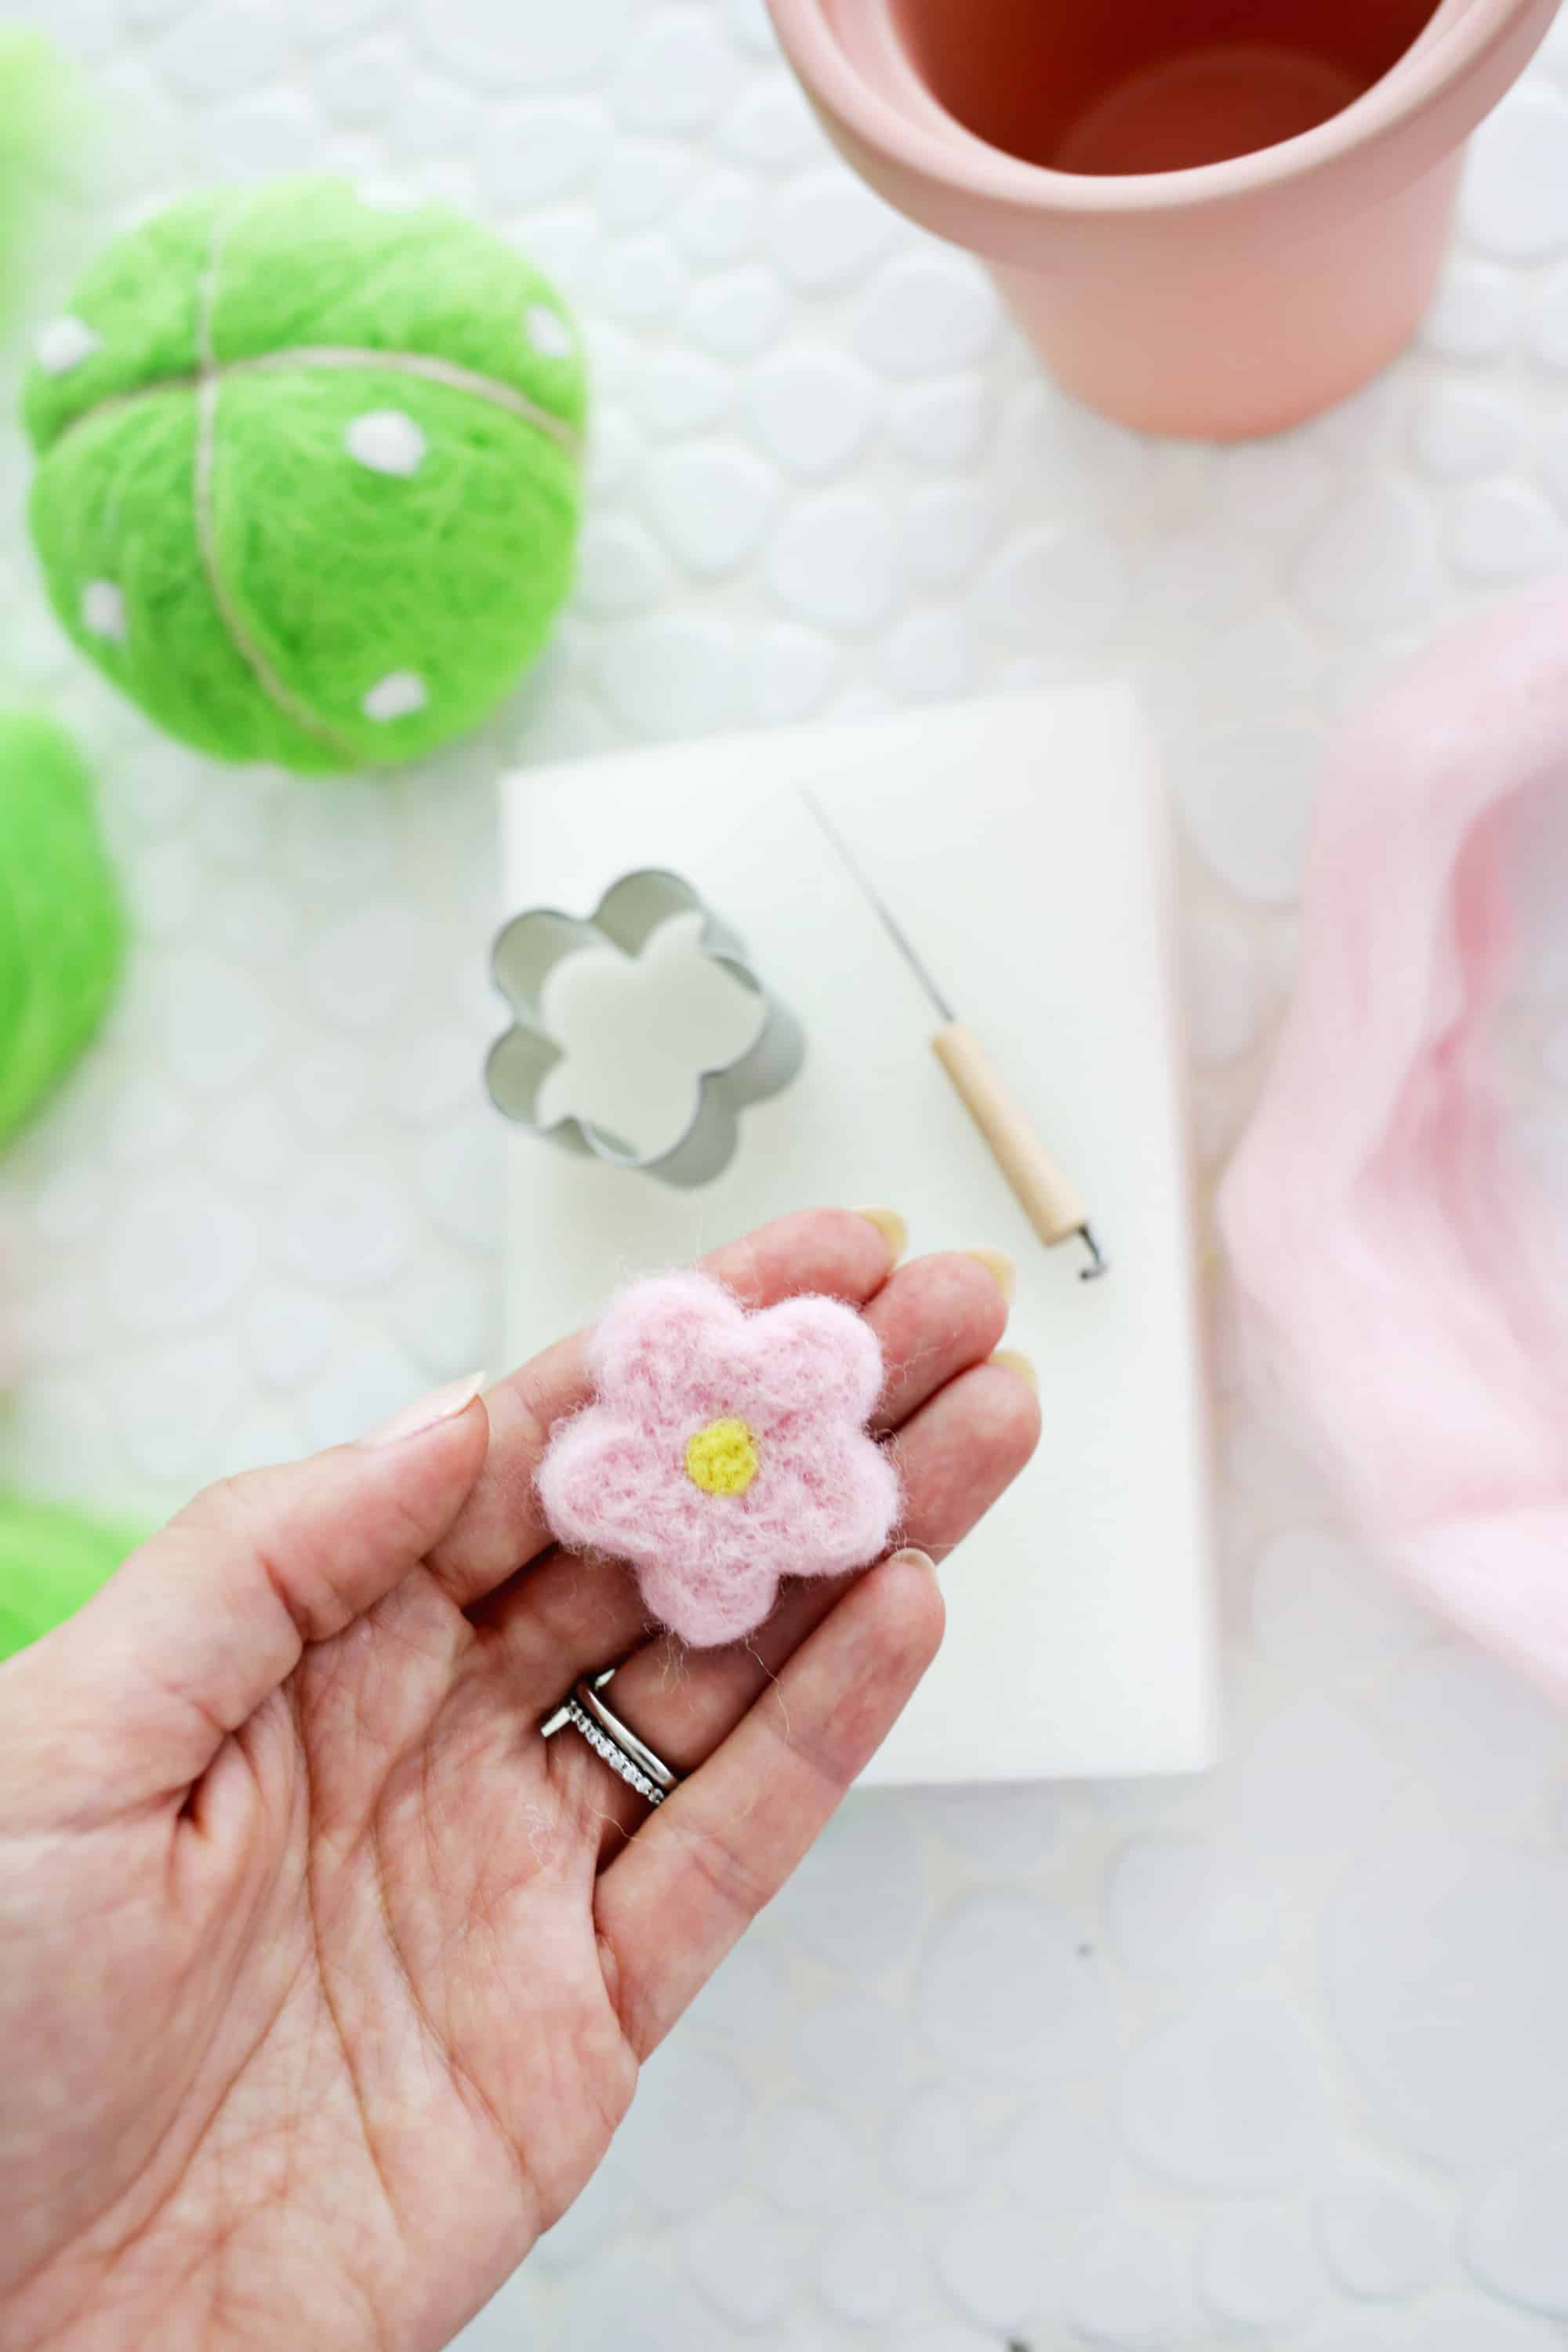 Once I had my dividing lines, and white dots, it was time to make my cactus flower! Using a cookie cutter is a fast and fun way to create a shape and I found it pretty easy as a beginning felter. Put your cookie cutter down onto your foam felting mat and grab a few wefts of your desired color. Pull the wefts apart until they are lots of thin wisps and push them down into your cookie cutter, spreading them around, until you’ve reached the top of the cutter. Once the cutter is “full,” use your needle to felt the wool in the cutter, going all around the edges as well as the middle, and it will begin to take the shape of the cookie cutter—cool! Keep moving the cutter and wool to a different spot on the mat every 5-6 punches or so, so it doesn’t stick to the mat and turn it over every so often so you are felting it from both sides.
Once it’s packed down pretty well, remove the cookie cutter. You can leave the flower as-is, or you can define the edges further (it will be a little fuzzy around the edges if you don’t) by felting directly into the side edge of the flower (watch your fingers on this one!). I did more aggressive punches where the petal bases come together for more definition there and softer punches around the rounded edge of each petal. Once your flower is done, get a small wisp of your flower center color and felt that into the middle the same way you attached your white spots on the cactus body.
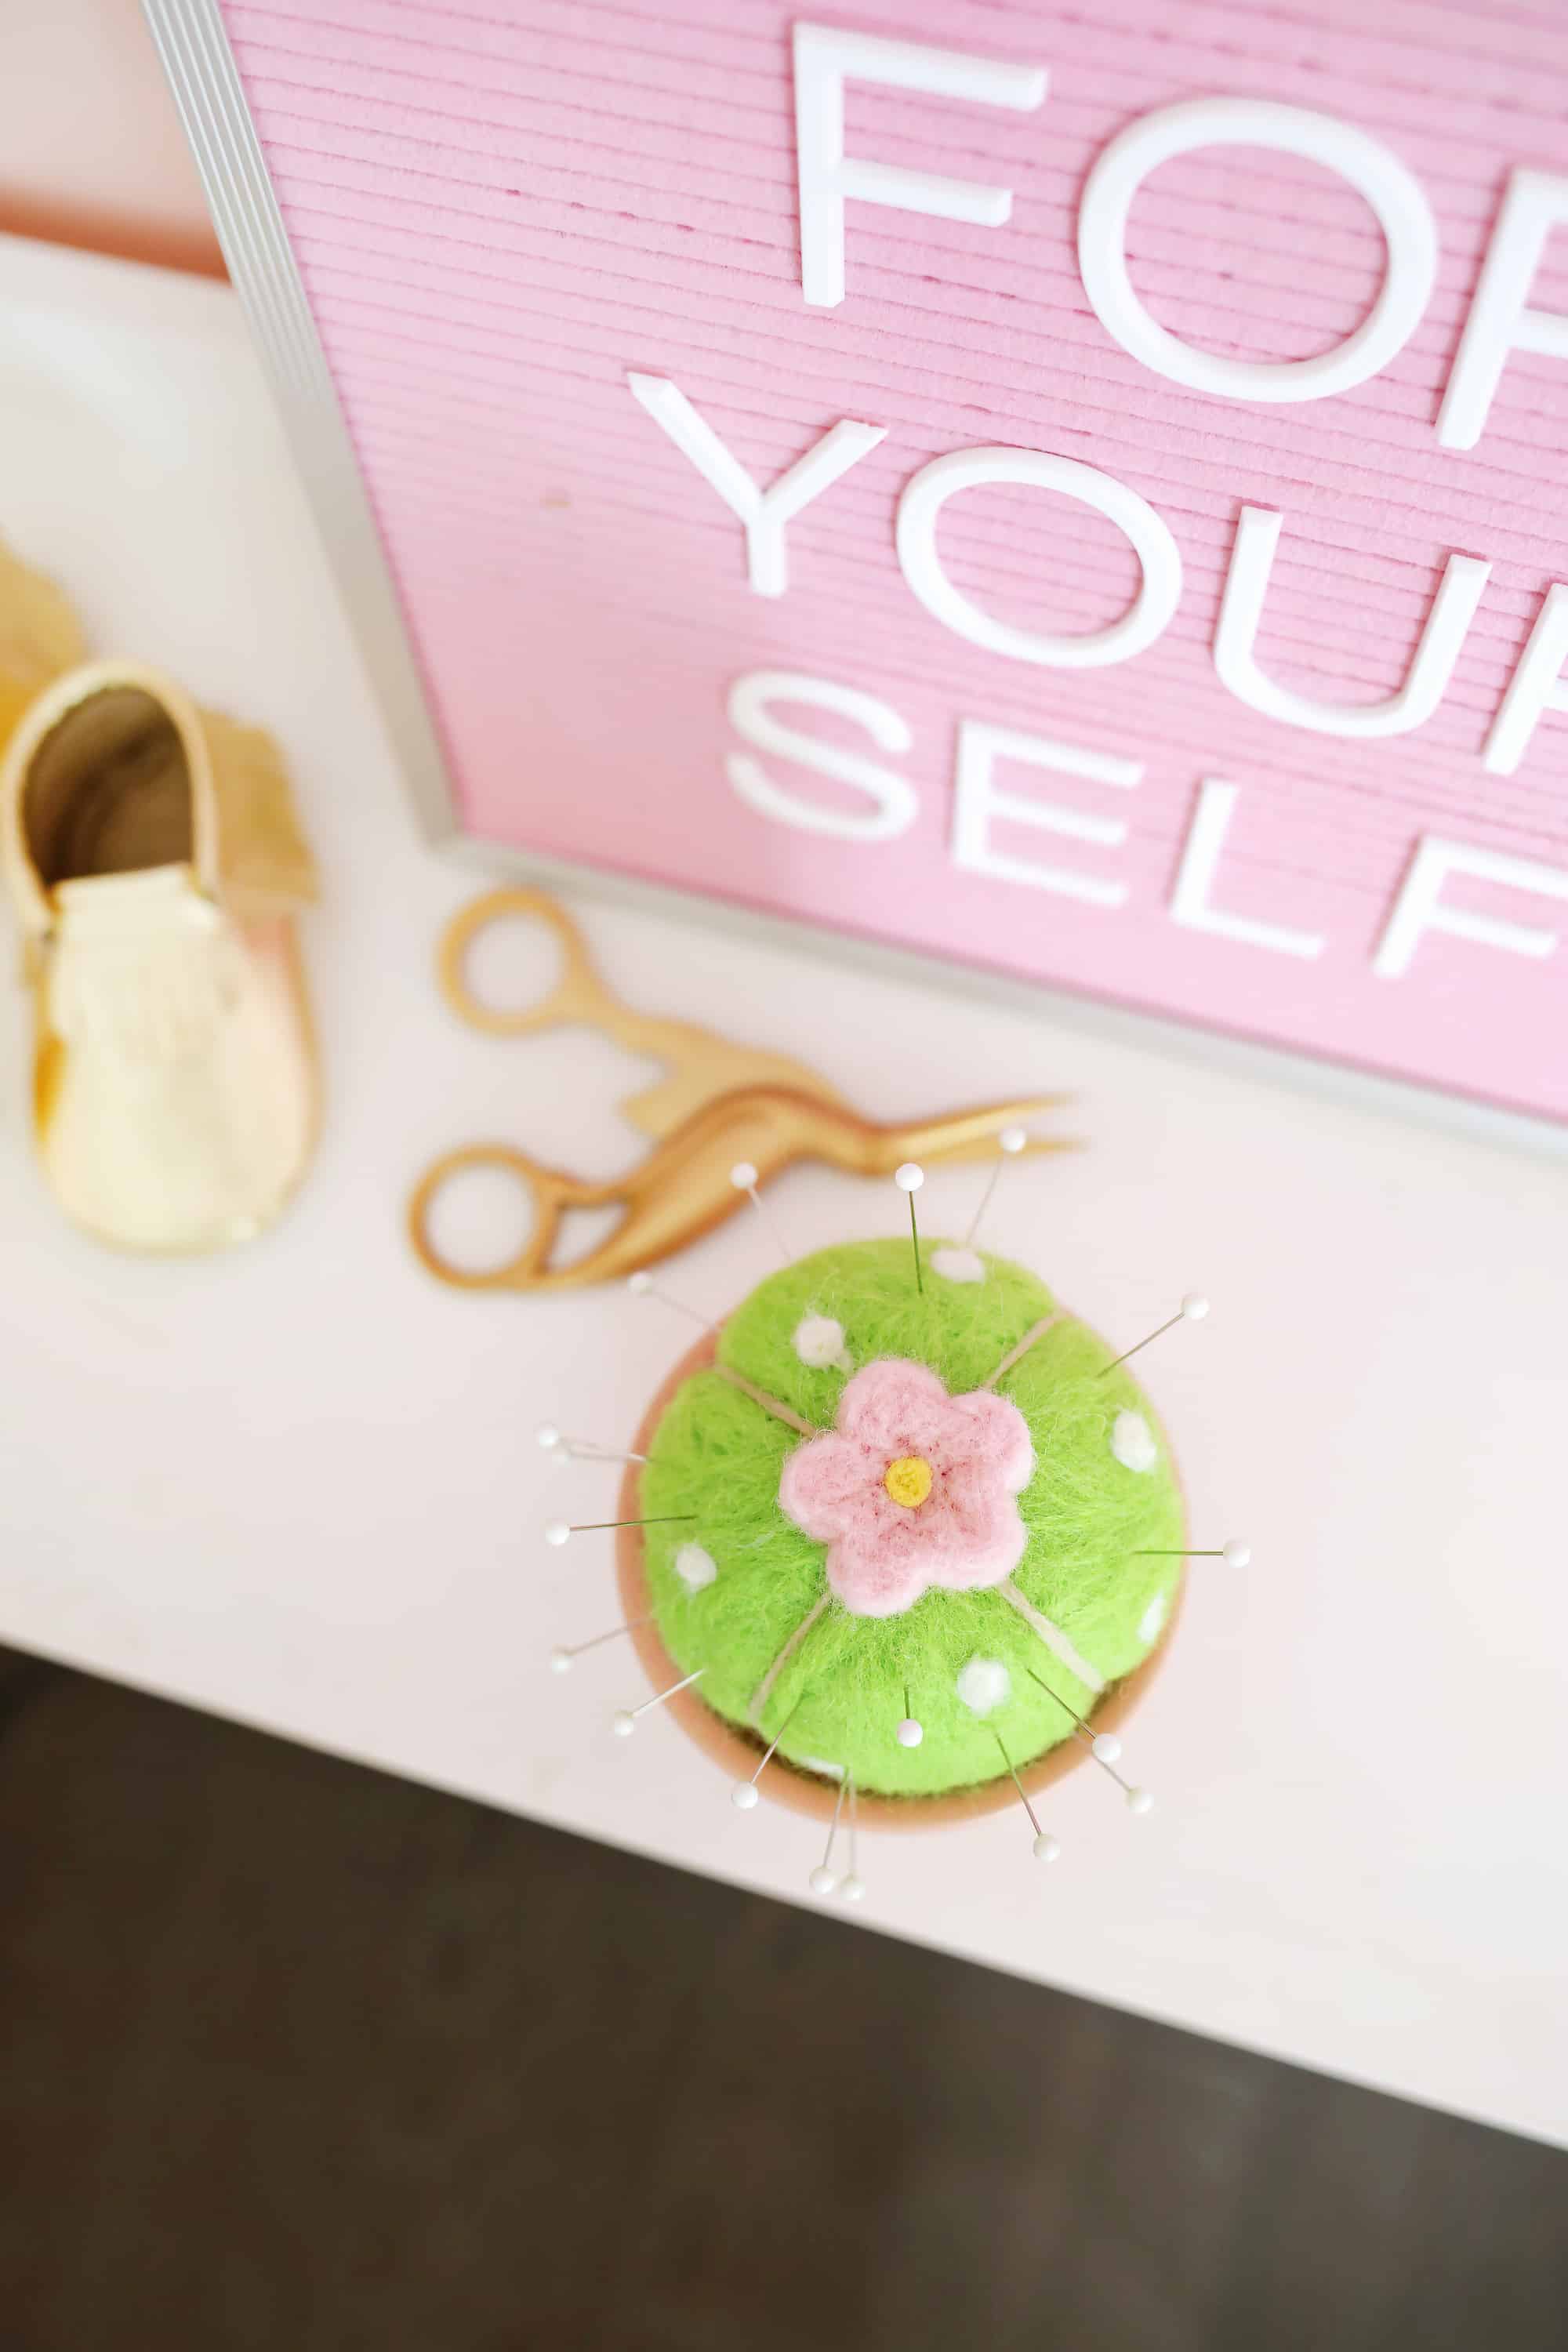
 To attach your flower to the cactus, simply place it on top of your barrel shape and use your needle to poke through both pieces in several spots so they are attached and felted together.
 To complete your base, cut a piece of styrofoam cone to fit inside your small planter and hot glue it in place. Cut a circle of brown felt fabric to fit into the top, glue into place, and then glue your barrel cactus on top. Your felted pincushion is now ready to use!
 Isn’t that just adorable? If you are thinking about wanting to get into felting, this is a great project to start with to learn some basic skills and end up with a pretty darn cute pincushion as well. If you are more of a sewing gal but love cactus things, try this DIY to make your pincushion, or you can make a giant one for a kid’s room which is really fun too. Hope this ends up being a fun adventure into felting for you and I hope it’s a hobby that “sticks”… xo. Laura
Wow….cactus spine, only using needles.
Such a beautiful idea!
Thanks for the pic.
Cactus pots are very lovely!!
This is adorable, especially with the whole cactus trend going on!! 🙂
Charmaine Ng | Architecture & Lifestyle Blog
http://charmainenyw.com
Okay, I pinned something similar to this just yesterday (except it wasn’t a pin cushion), but THIS IS SO COOL and I had no idea felted wool was even a thing!
This is so cute I might make it just for decor!